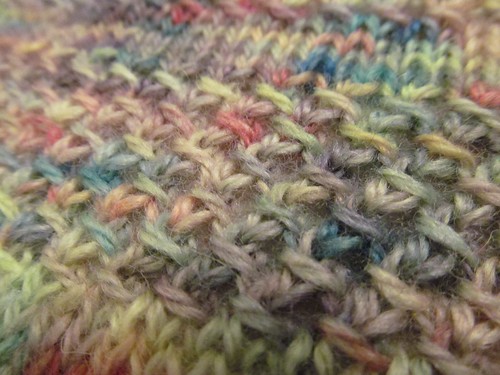
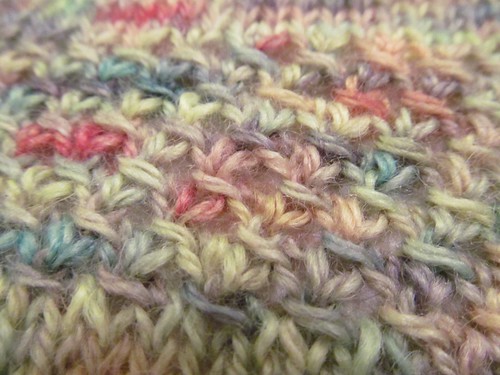
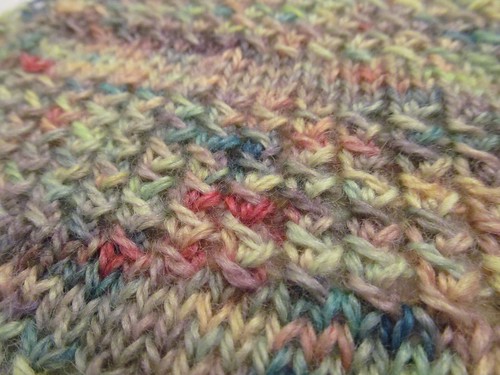
Here is the swatch stitch that we will be working from in this post. The Creator used a yarn from MJ Yarns in Fruit Juice.
The bottom stitch is the Untwisted Milano stitch. The middle pattern is the Milano stitch and the next stitch up in the photo is the Milano Rib stitch.
Initial Stitch Credit goes to Brenda Dayne and you can find her blog post about the stitch here.
The Milano Stitch Pattern
 The stitch itself is quite simple and done in a multiple of 2 with a 4 row repeat. In the original photo, it appears that Brenda slipped the stitch purlwise, thus, creating a twist in the stitch that makes a tighter, denser fabric. More on this later in the Other Variations section.
Pattern
Row 1 - *S1 (purlwise), K1, yo, psso both. Repeat from * to end.
Row 2 - P all to end.
Row 3 - K1 *S1 (purlwise), K1, yo, psso both. Repeat from * to last stitch, end K1.
Row 4 - As for row 2.
Considerations
If you are working this stitch for the first time, consider going up a few needle sizes. Passing the stitches over and trying to get them all to work together in a tight knitted fabric can be a bit trying. Swatch and test what works the best for the yarn you have chosen. A stockinette foundation row allows for the setup of the first Milano stitch row.
Because the pattern is offset, increases need to be completed in multiples of two or a ribbed pattern appearance may be presented. Increases can be made at the beginning or the end of Row 1 or 3.
Row 1 - increase, before the first slip one you will want to: M1, S1, YO, K1, YO, PSSSO (yes over all three!) and continue with the pattern. This will add two stitches to the fabric. If an increase is needed at the end of the fabric, on the last Milano Stitch, S1, YO, K1, YO, PSSSO (yes over all three!) and M1.
Row 3 - increase, after the K1, M1, S1, YO, K1, YO, PSSSO and do the same on the last Milano Stitch pattern.
Decreases
Decreases are worked in all rows. At the point of a decrease, leave off the YO and PSO the knitted stitch. Again, increases can be made and the beginning and end of the rows.
Row 1 - S1 (purlwise), K1, PSO, continue in pattern until the last Milano stitch set then S1 (purlwise), K1, PSO.
Row 2 - P2TOG, P until the last two stitches, P2TOG.
Row 3 - K1, S1, K1, PSO, continue in pattern until the last Milano Stitch set then S1, K1, PSO.
Row 4 - As for Row 2.
In the Round
The Stitch can be adapted to be done in the round if you would want to make a hat. For a hat, Rows 2 and 4 become knit rows. There is a jog that may present itself when knitting in the round as beginning of the round may become evident. If you find this distasteful, simply start the pattern one stitch before your round marker. This will prevent a jog from becoming evident. In a hat, omit the Row 2 and 4 decreases while minding the pattern offset by adding in a knit stitch where needed. Essentially, you are making a new section of pattern repeats with the decreases.
Other Variations
There are some other variations of the stitch that may have happened. One by mistake in making a hat, the other by way of writing this this up. Again, this is a personal taste and preference and what you want to do with the spiffy hank of yarn you purchased.
The Untwisted Milano Stitch
Row 1 - *S1 knitwise, K1, yo, psso both. Repeat from * to end.
Row 2 - P all to end.
Row 3 - K1 *S1 knitwise, K1, yo, psso both. Repeat from * to last stitch, end K1.
Row 4 - Repeat row 2.
The Milano Stitch Rib
The Milano Rib stitch was a mistake that was completed with the first hat. The Creator didn't think it was all that. However, Horbert heard that his Famous Friend loved it when he showed it to her and now she may make her husband a scarf out of some expensive yarn she purchased. It's also very stretchy just like one would expect a rib to be.
Row 2 - P all to end.
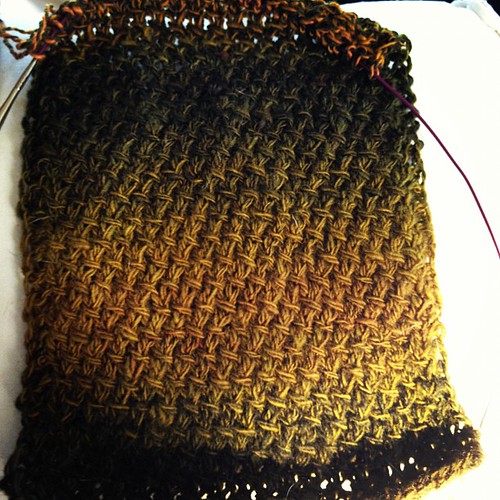
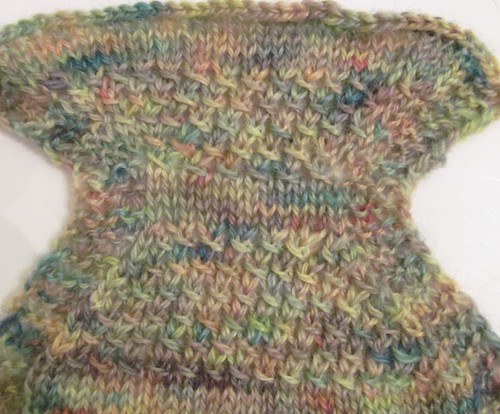
Projects that use the Milano Stitch:
In Progress Cowl
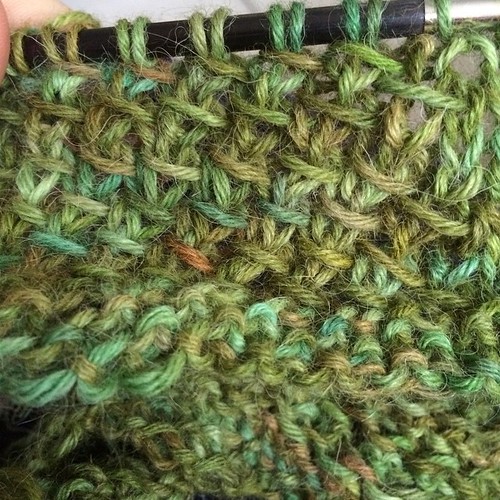
A Hat
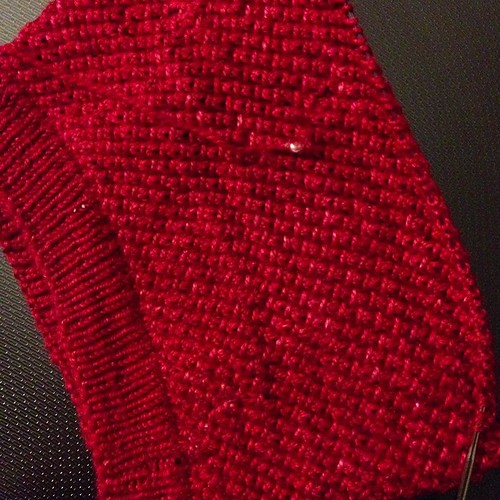
A Scarf